| 11-1 Video Recording at Web page |
1 Please go to the network camera Live View.
2 Please click the right button of mouse on the video, and then please select Save
AVI menu at the popup menu bar.
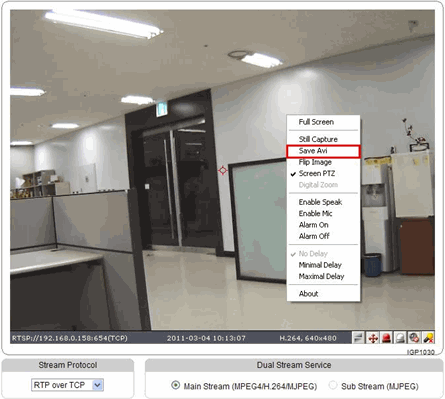
Ex) IGP1030 Network Camera
|
3 When you finish recording, please select Save AVI button again.
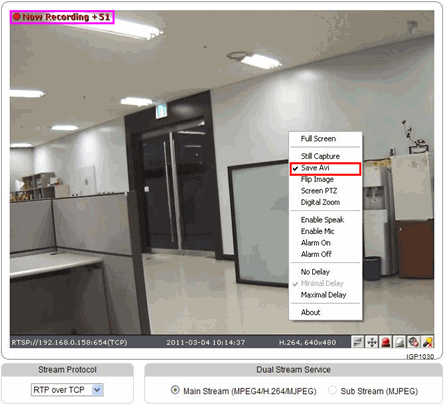
Ex) IGP1030 Network Camera
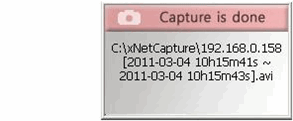
4 If you select the following icon right after finishing recording, user can play the recorded data. The recorded data is saved at C:\Xnet Capture folder.
|
| |
| 11-2 Video Recording at CMS program |
1 Please run CMS program and access to all network cameras that you want to record videos.
2 Please select the network record button, and then all connected cameras video will be recording at the PC.
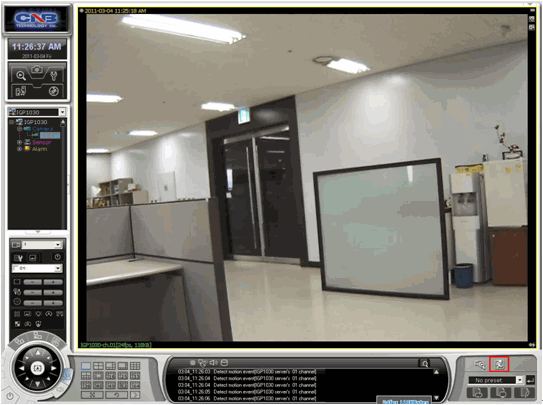
3 User can play recorded video at CMS’s local search.
4 Please select the Search button, and then please select local search.
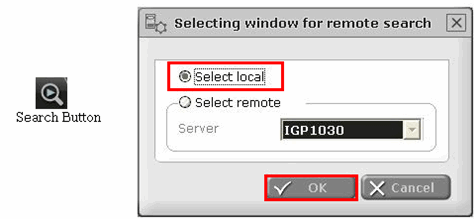
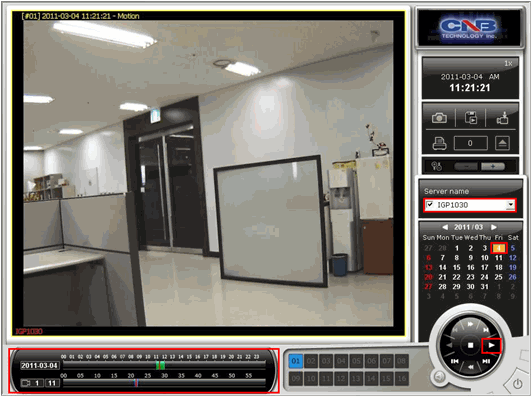
5 Please select the Network camera’s server name at server name list.
(Max.16 network cameras are can be selected at the same time)
6 Please select the date you want to check the video from the calendar.
7 Please select play button, then video will be played
|
| |